Showing posts with label yarn. Show all posts

Monday, August 1, 2022

Hot August!

It's hot August!
It's the last month of full summertime.
It's so hot here in the PNW that it is hard to enjoy it.
Thank goodness for air conditioning and fans!
We have been kayaking for fun and peacefulness... but staying in a lot too.

Above is the phone/tablet calendar for august...click here for the download.

Click here for the desktop version for your computer or laptop.
------------------------------------------------------
Spooky times!

This is a digital book of 13 different Halloween drawings/scenes and 7 different sayings for embroidery and crafting....a PDF instant download....designed by me...Hudson's Holidays. This digital book is 11 pages....print on regular paper.

These are great for stitcheries, wool projects, needlepunch, coasters, pillow tucks, ornies, pinkeeps, painting projects, coloring pages for kids, wallhangings, table mats, scrapbooking, wearable pins and quilt projects.

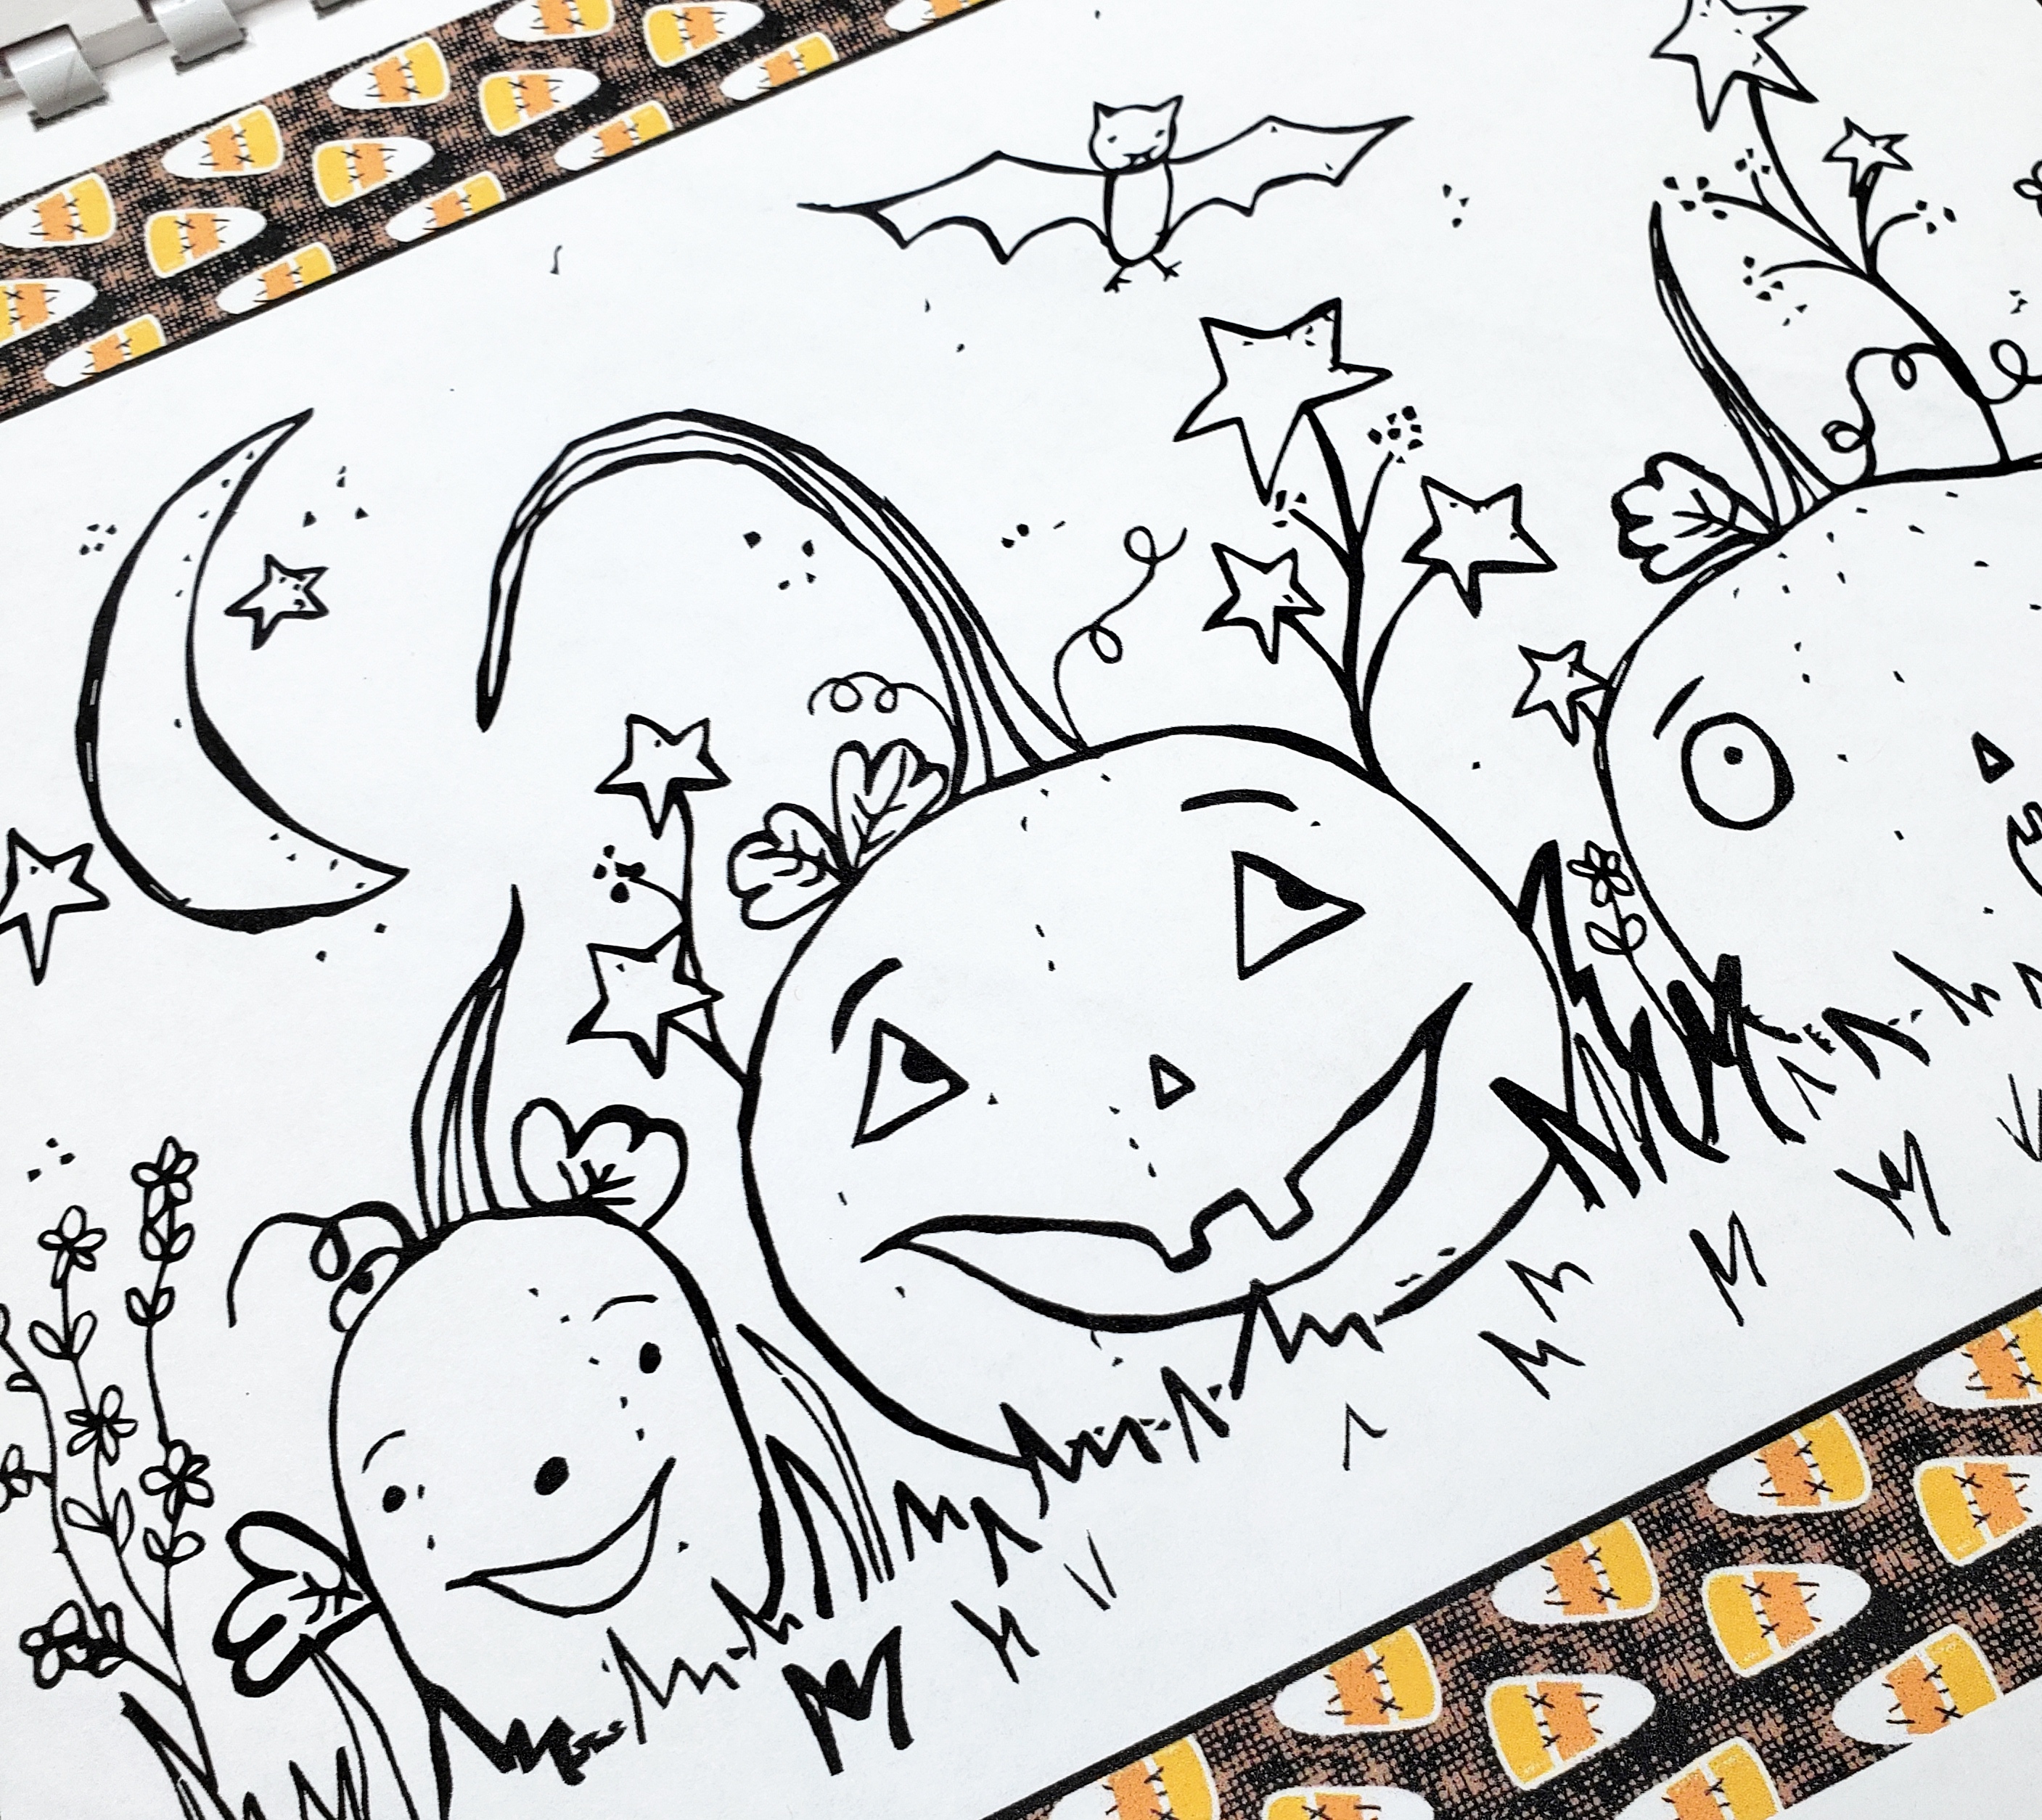
Simply print and do what you want with them. There are basic embroidery instructions...create what you want to. There is no floss color list, you choose your colors. Color the pages too.
There are pumpkins, jack o lanterns, haunted scenes, Frankenstein, dracula, the mummy, pumpkin patch, Ghosts, vintage vignettes, owl, cats, sayings to stitch and more.


----------------------------
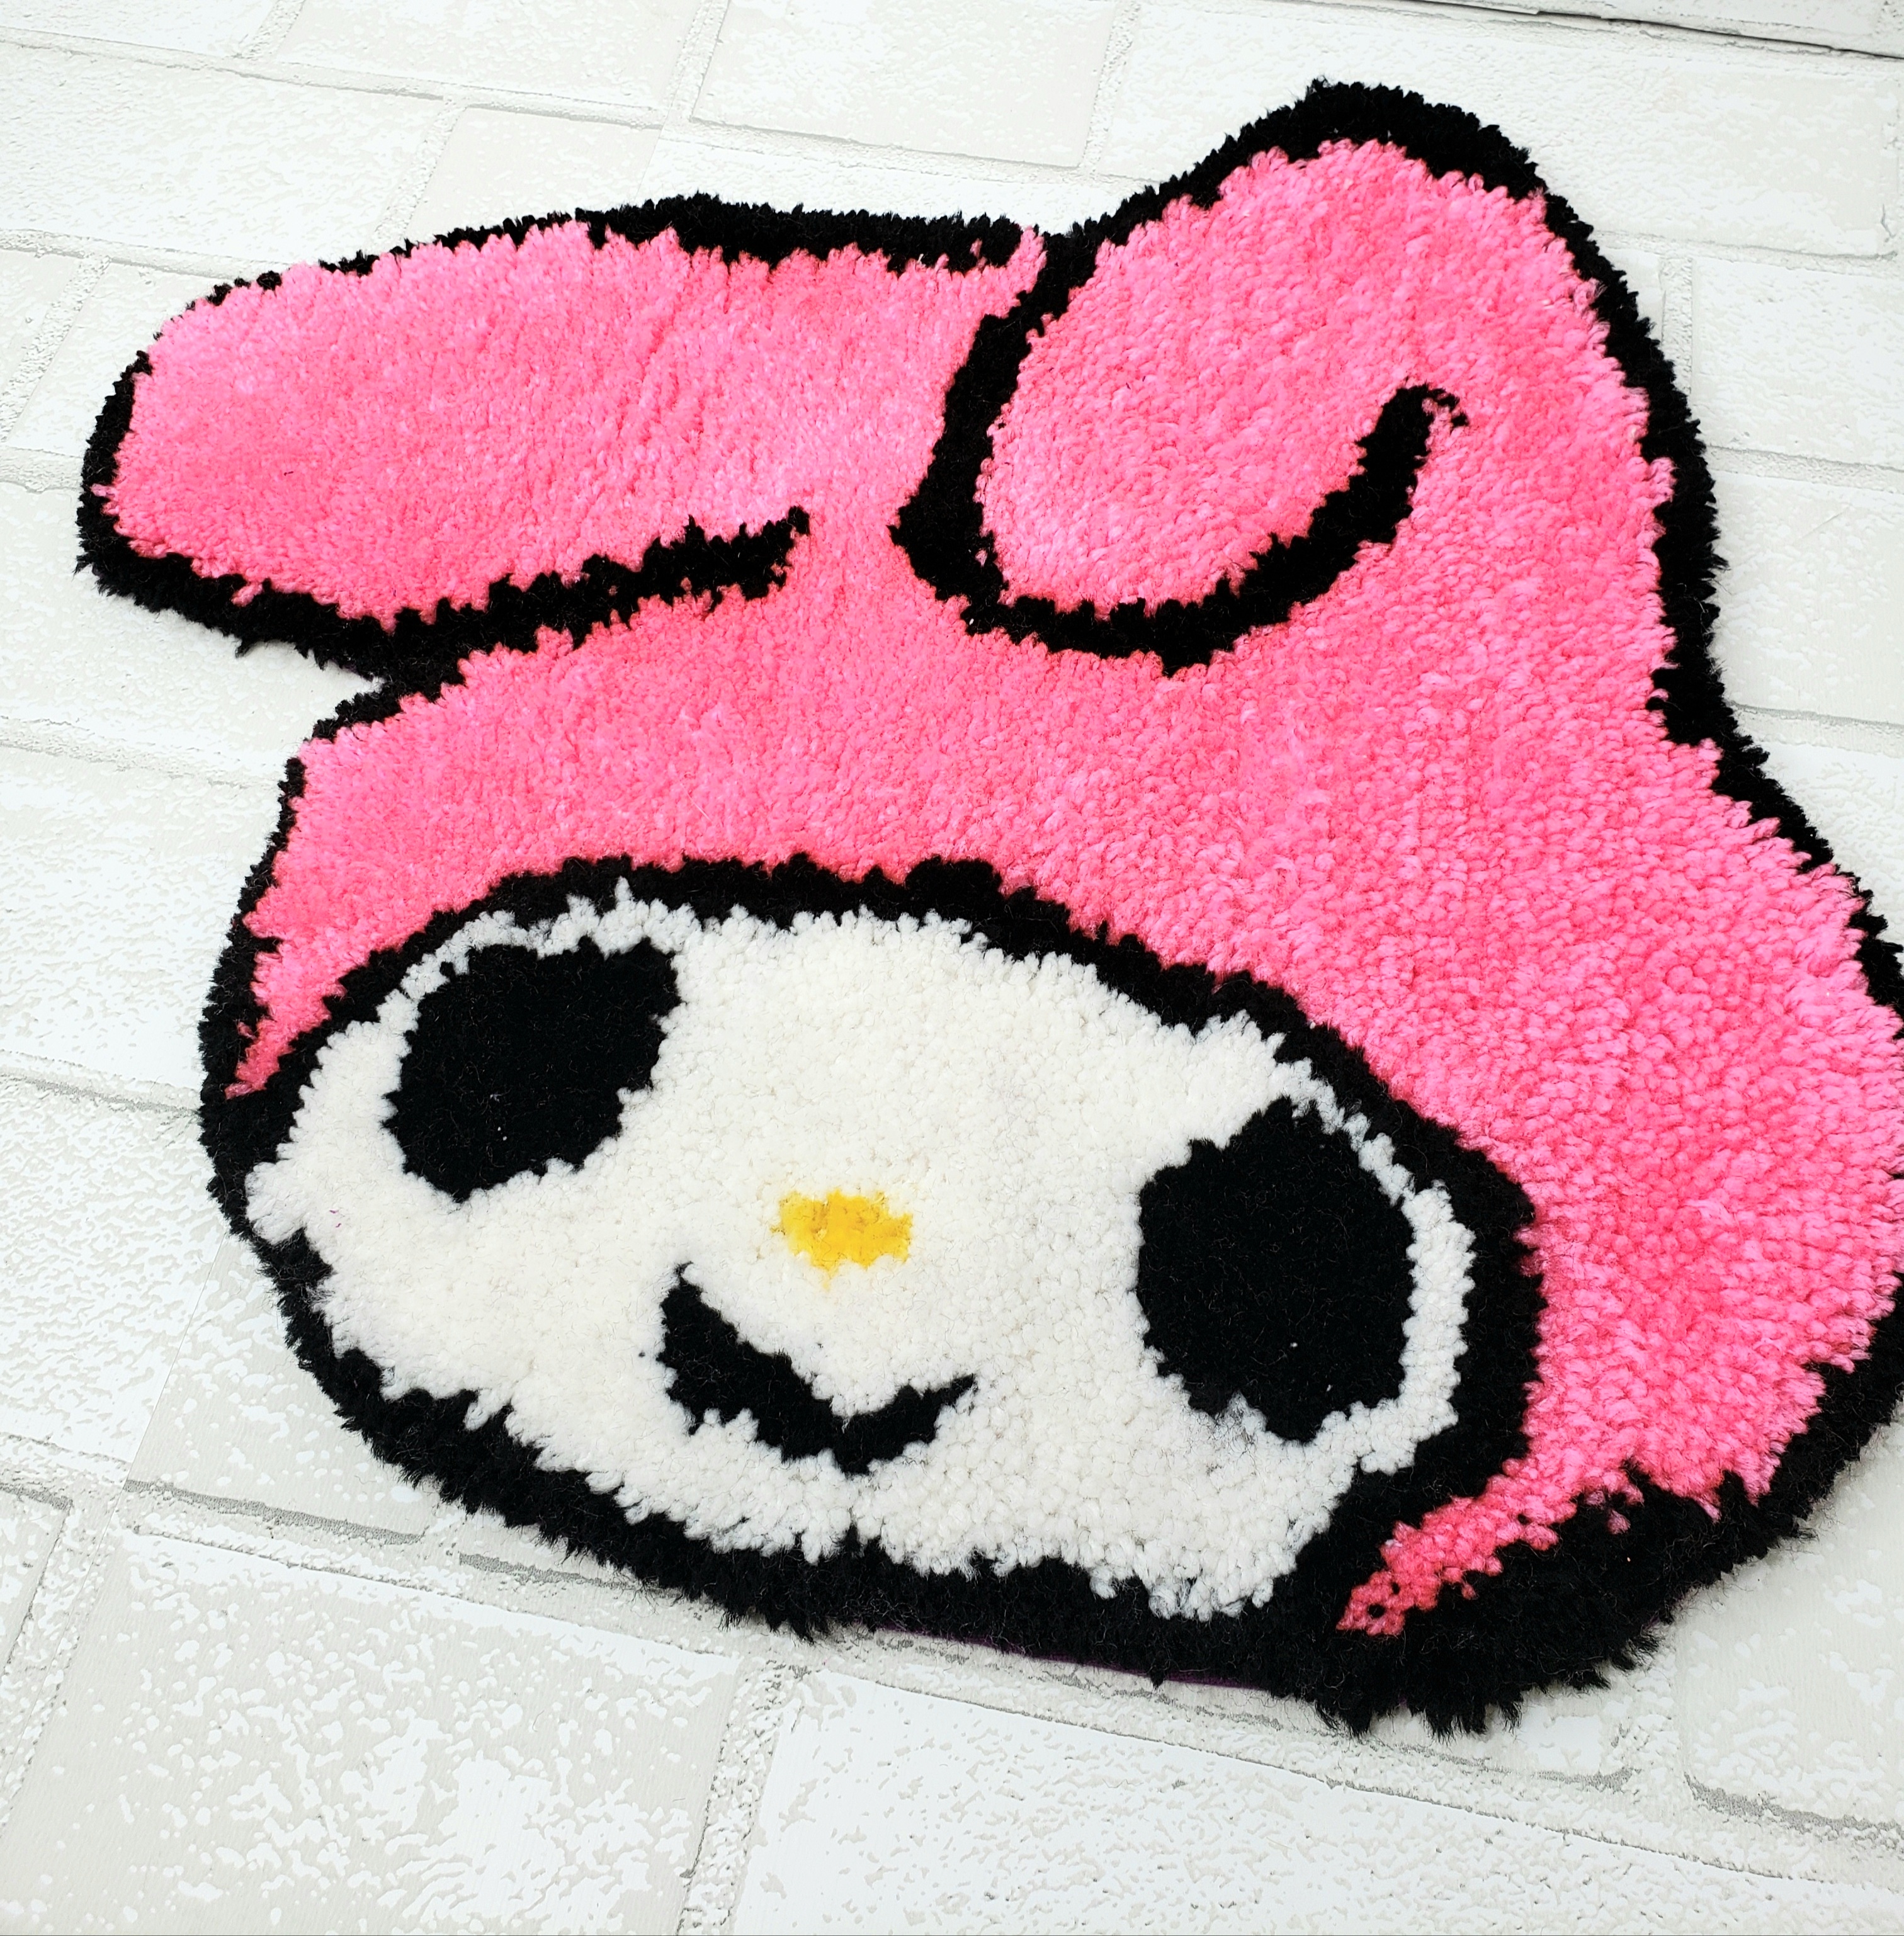
My daughter Selina and I got into rug tufting this past month.We saw a tiktok video and you tube videos too....that were fun and fascinating. It's the super fast way to make rugs....

We bought a frame kit (Amazon)and put it together....it has strips of nails on all sides to hold rug tufting fabric to the frame.   It is as tight as a drum. You mark your design on the cloth.  We used a projector and a sharpie pen.

Here is a close up.

We outlined the shape with black yarn.

Here is a shot of the rug tufting gun.....it is like a sewing machine in a way....just poke it in the fabric, pull trigger and tuft upwards.

Any yarn can be used. It cuts the yarn for you.

Here is the back, which is the right side.  After....you can shave and trim it.  Also you seal the back with rug glue. 

We had a helper...Davy!
------------------------------------
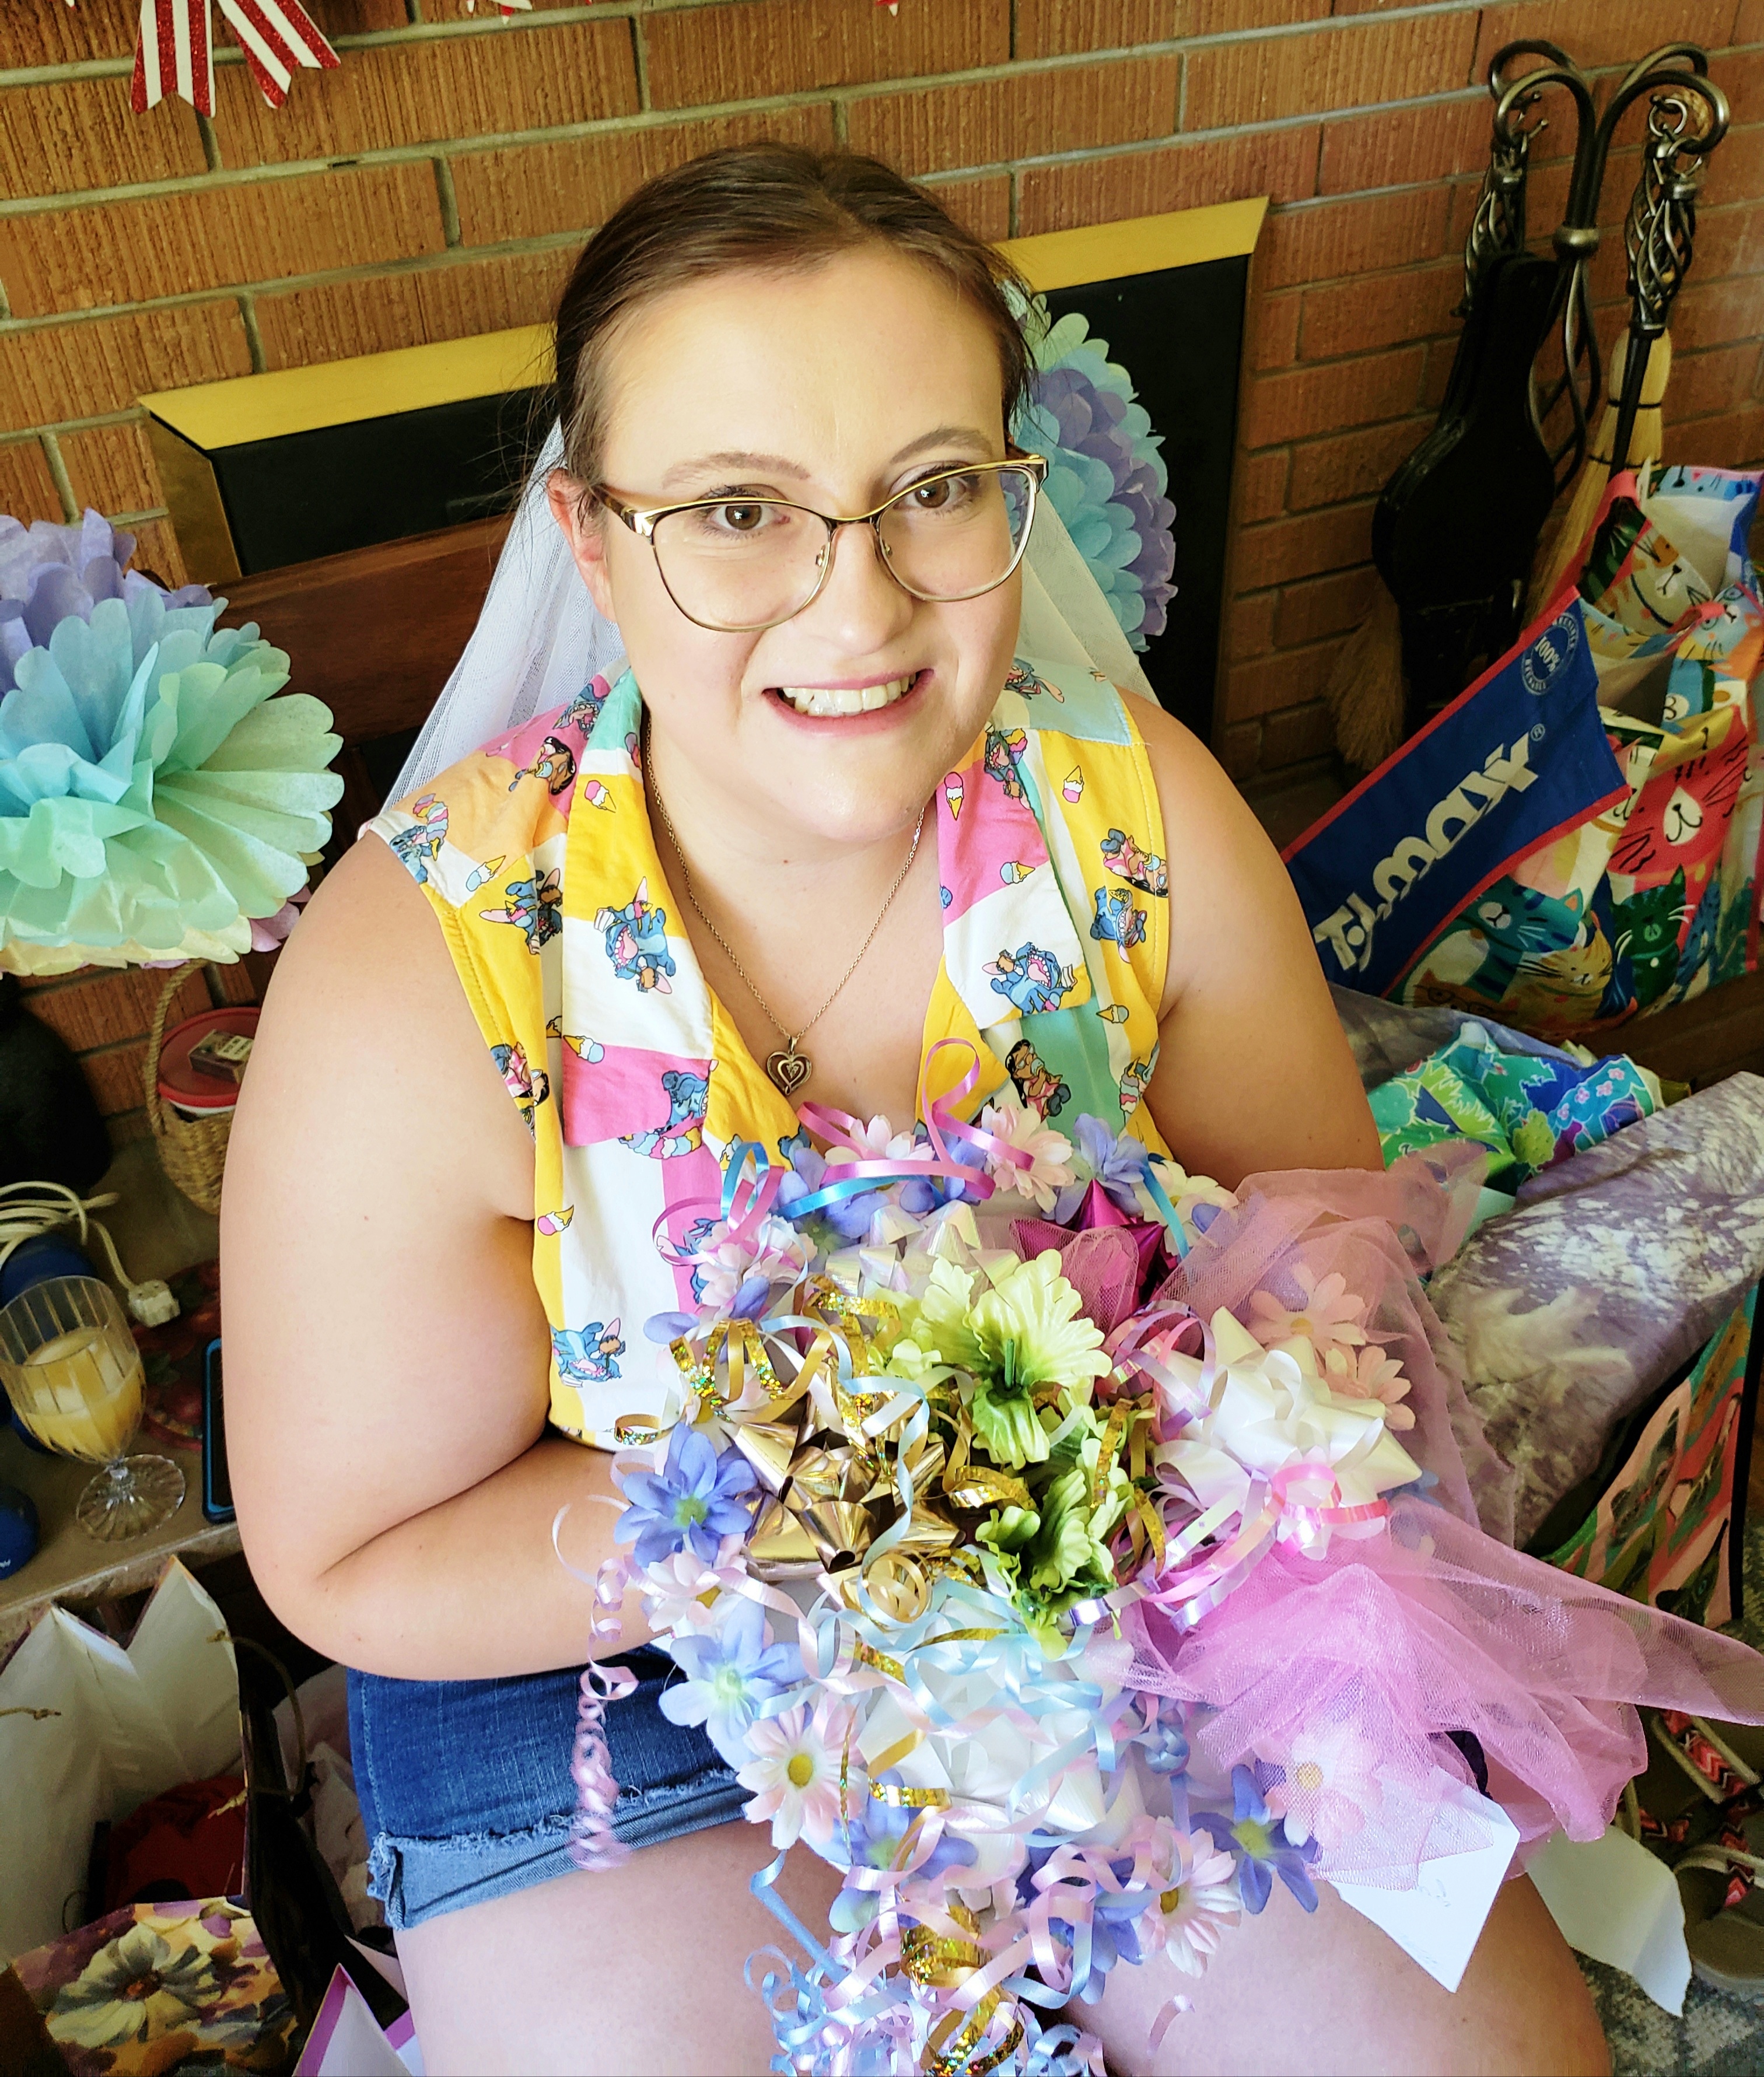
We had a wonderful bridal shower for Selina....she is getting married in September!
I am so excited!  
Maybe I will be a grand-mother some day!

----------------------------------------------------------------------

This picture was from my first book signing.

I have another one soon!

----------------------------------------
It's been a rough past month... with my father having some hospital stays and I was sick too....but I'm hoping things will be more calm this month.

Enjoy the rest of summer!

Monday, September 18, 2017

Halloween Pumpkin yarn Dream catchers

Isn't this cute?  
I love making easy peasy crafts...that turn out pretty darned adorable!
These halloween dream catchers....wave in the wind of a nearby tree...spooky, but too cute~
I made these yarn dream catchers  above in May and put them on my blog...
They are still looking fab!
So I thought I could take the same idea and make halloween pumpkins!
I gathered up the usual suspects.....lol...
yarns, strings, embroidery hoops (any size or sizes), glue, felt...
They are simply made by wrapping yarn around the middle (inside) hoop....you put the outer  embroidery hoop aside for now.
Hold your beginning end in place or glue it down, and once another piece wraps around it then it stays in place.  If you just wrap the yarn around the hoop and and move the yarn slightly each time, then everything will stay in place.
I have had this orange yarn for a while...just waiting for a project.
Sometimes you just have a left over skein or ball of yarn...perfect for wrapping around a hoop.
Wrap, wrap, wrap until you like the fullness of it.
Then place your outer hoop around it and tighten.
I cut out some felt eyes, nose and mouth....
and here is one of the faces.
I added alittle white felt for highlights in eyes.
I think hot gluing the face on is best.
This is the tiny guy...love the funny teeth.
They are fun and silly....
At the bottom is just some long string tied on or looped through the hoop.
These took no time at all!
I added a string to tie them into the trees.
The wind will make them float around.
This is a big 12" hoop.
Any size is fun...
I often get embroidery hoops at thrifts stores and garage sales.
They are so cheap and then so is the yarn and felt.

Come to Craftastic Mondays!  Come to home matters linky party! 

Tuesday, May 30, 2017

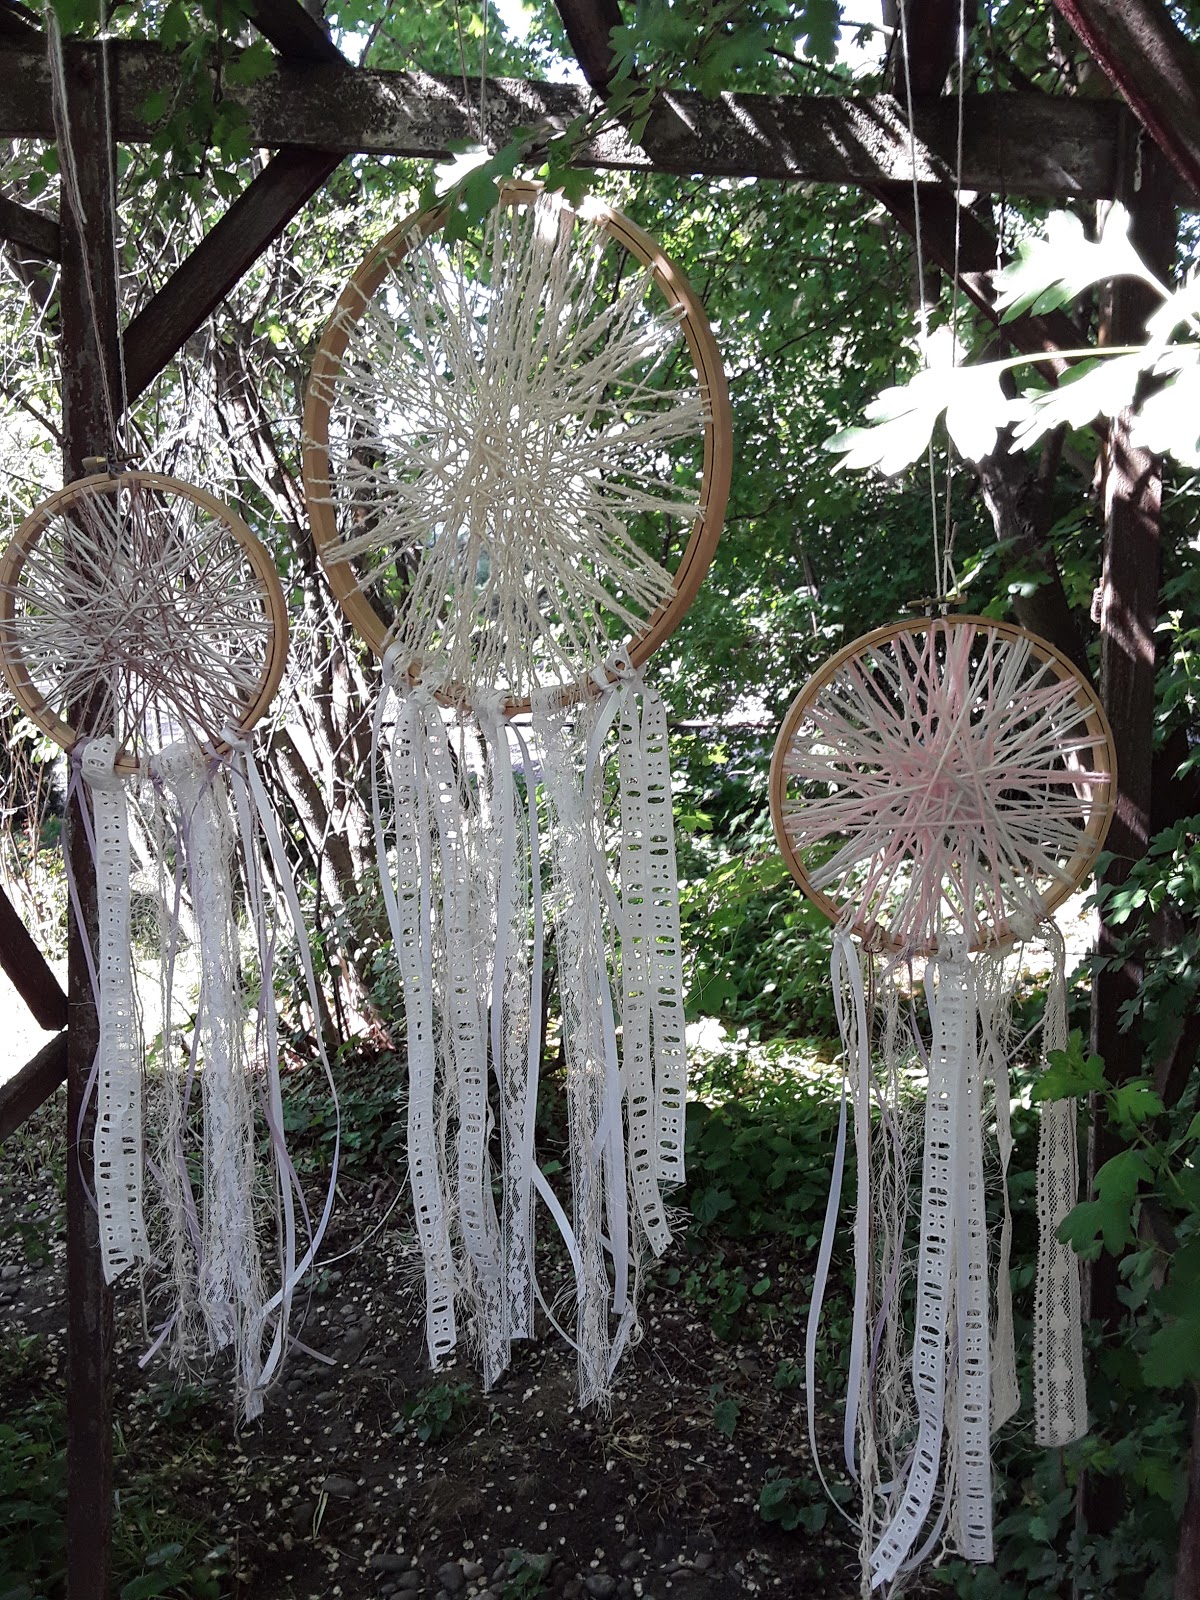
Pretty string & yarn hoop art.

Did you have a good holiday?
I didn't real do anything "Special"...just tasks around the house, helping out my dad, hanging outside and enjoying the weather.
But I did have fun making these super easy string hoop art.
You have probably seen them before....but trust me...making them is so fun and when you see them swaying in your trees...it is magical.
I have lots of different supplies in my studio...I bet you do too.
I don't crochet...but this yarn from a thrift store really called out to me.
I gathered up a couple embroidery hoops, lace, strings, yarn and ribbon.

i just started winding the yarn around the inner hoop...like you would to roll up a skein of yarn into a ball.
Keep winding...more... until you like what it looks like.
Then put on the outer hoop (you could add glue to the inner edge to make even sturdier).  Tighten your screw on the hoop as far as you can.

Tie on lengths of ribbon, yarn, string and lace....on the bottom part of the hoop.

First one turned out so sweet!

Guess what...I had to do another one!
This time with some yarn that had some texture in it.

This hoop was much larger.

Lastly I gathered up a pastel variegated yarn and made the smallest one.

These hang easily from the trees...and gently sway with a breeze.

This is such an inexpensive way to add some sweetness to your yard.

Now I am going to keep them in my courtyard just outside my studio.
I think kids would really like to do this as a summer project.

Plus...these would look fabulous as decor at a country wedding.

I may have to make some for my big big trees in my backyard too.

Hope you try some!


Come to home matters linky party!   Come to Craftastic Mondays!

Tuesday, January 3, 2017

Yarn kitty doll and party hats!

Say hello to my wild cat...yarn doll!
I recently got an elf ornament at an antique store....
and wanted to make my own.
But I didn't know how.
So I looked on Pinterest and found a great website...Krokotak.com
It is specifically here!
This diagram was handy.
I added a felt kitty face with a little embroidery....paws (pink paint for pads), tail and center heart.
I choose some yarn I had ...a multi color soft yarn.
I think you could add any face...clothes...shoes...to make it different.
I may need to make it in Valentine colors...I will show you if I get it done soon. 
--------------------------------
I recently went to a party after Christmas but before New Years...my daughter and I needed something fun to wear...so I whipped these up...using my festive party hat pattern. 
This was Selina's....she loves bright girly colors.
For the trims I used: yarn, scrunched seam binding, tulle, fabric scraps, and strings! 
For the banner I just stamped out a saying on white muslin...Party girl.  Then I cut it into banner shapes...added glue around the edges and dipped it in glitter. I then hot glued them on the front of the hat. 
Here is my hat....I chose a vintage scrap of fabric for the main part....then picked all these crazy matching trims.
We can use these hats for any party occasion now!
They are light, extremely comfortable, & clip on snugly. No longer do you have to have a strap or headband to have your lil party hat stay on.
My pattern comes with printable banners :
Happy New Year's, Happy Valentine's day, Happy St. Patrick's Day, Happy Easter, Happy Mother's Day, Happy Father's Day, Congrats Grad!, Happy 4th of July, Happy Halloween, Merry Christmas, Bride, Groom, Happy Birthday, Over the Hill, Happy anniversary, Give Thanks, Party Girl, Happy Holidays, Life is good!, and Let them eat Cake. 
Here is one I made in the past...
Smarty pants!
This one cracked me up!

Try and stay cozy...
our weather is extremely cold...we are embroidering, sewing, and doing computer illustration.
We are avoiding going out and about!


Come to the Home matters party!  Come to the Pin Me Linky Party!  Come to Sharing Saturday~~~  Come to Craftastic Monday!