

Happy October!!!
It is one of my favorite times of the year....for sure!
I love the Halloween decorating, the temps get cooler, fall leaves, spooky movies on TV, and that old feeling of simple pleasures.
I made this month's phone/tablet calendar from one of my watercolor paintings!

The desktop version is here! The orange section is perfect for you computer icons.
***********************

My latest design is ready!
This “bad to the bone” skeleton is really a sweetie!
Add some scraps of fabric to the sides of the design for a whimsical mini quilt with rick rack all the way around. It's super fun, quick and easy to do! Add color using colored pencils.
The design features a friendly skeleton with his pumpkins, black cat, bat and a small "Eek!" banner.
The design features a friendly skeleton with his pumpkins, black cat, bat and a small "Eek!" banner.

For a printed and mailed pattern go to my website!
*************************

This month's mug rug was fun to make.
I could barely decide which fabrics to use! I have way too much halloween fabric.
I finally chose the cute kitty fabric...one I haven't tried yet!
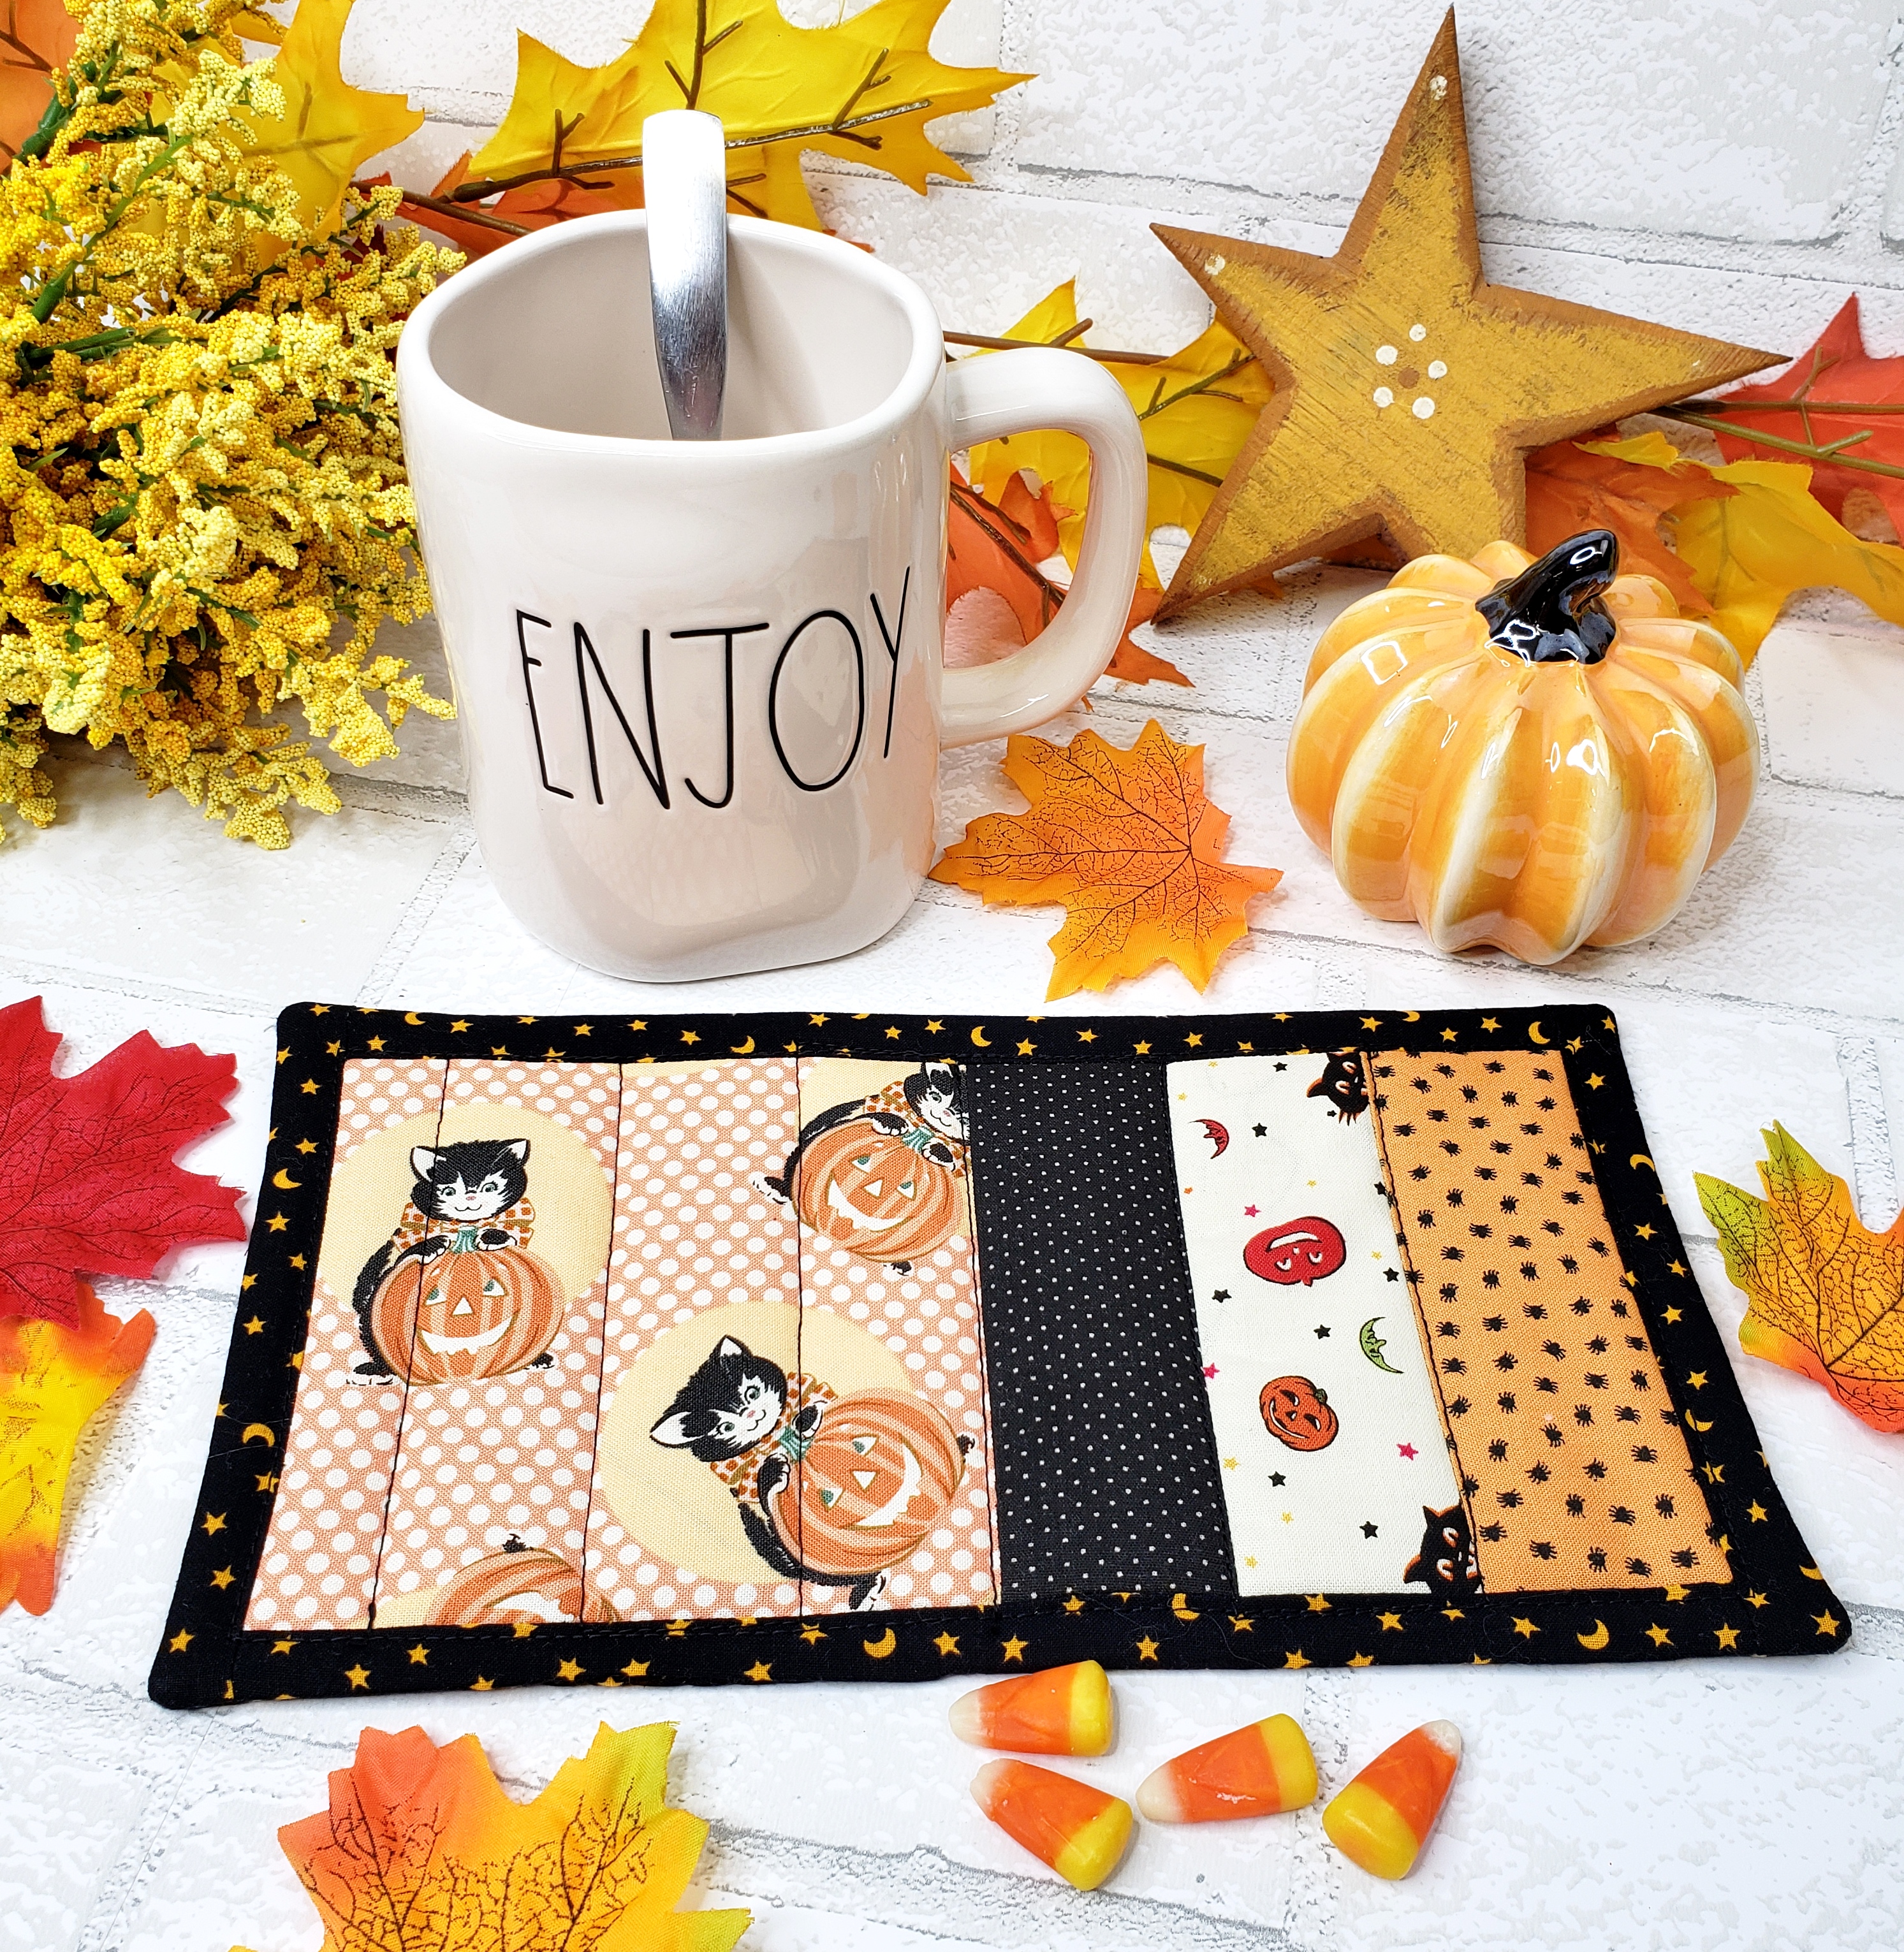
I grabbed a few coordinating strips....and added them. I really like making these for every month of the year.

Here is a diagram to give you an idea of how it goes together.
Here is some general instructions:
Use a 1/4" seam allowance. Use the chart above.
Sew the featured fabric (apples) next to 3 strips of coordinating fabric.
Press well. Sew 1" strips all the way around. It is a good idea for the fabric border strips to be the same as the backing fabric. It makes the strips resemble quilt binding. Cut excess fabric and press. Layer batting and backing fabric (slightly larger than top) then lay top over backing (right sides together). Pin in place. Sew 1/4" around mug rug leaving a 3" opening. Turn inside out. Sew opening closed. Quilt lines through the featured fabric...and also quilt down strips and around the borders.
*******************************

I needed a mat for a sparse shelf and made up this one... so sweet!
It was perfect and now I might make several.

It worked out great.
******************************
******************************

Recently our local doll club made it in the Spokesman review Newspaper!
It is an article about our cloth doll club, only a few of us could make it to the interview. We met at Joann's house....she has tons of dolls she made and lots of treasures. We brought dolls to show and told alittle bit about ourselves.

I showed a few of my muslin dolls and my book!

We all make different kinds and I love seeing their creations.
Plus it is so nice to meet with friends who have the same hobbies.
I encourage you to find a group of like minded women in your area!
It is amazing how much we need each other!
****************************************************************
Around the house....

I started this last year....then Halloween past so I put it away and worked on a valentine one.
But I got working on this while watching TV and put it together plus put fringe on it.
I love it!

I got myself a big skeleton... and named him Norman for Norman Bates!
But he wanted a mustache...courtesy of walmart for 98 cents.
He is wearing one of my party hats!

This guy is where's Waldo...so funny....he is at a vendor mall...so much fun!

I bought this huge painting ....I had my eye on it for a while....then it got reduced!
It is Carmen from the opera....from Barbara Weber.

She is decked out for Halloween....no tape on it.
It cracks me up! I plan on making her ready for every holiday.

I got this really cool vintage singer sewing machine at a garage sale recently...5 bucks! I was in heaven because it looks killer in my studio plus makes for great picture taking.
It is smooth and in great shape.
*********************
Art time

I have been loving making Halloween art...but my favorite new supply is Crayola confetti crayons!
I made the stars and other shapes in the background and then watercolored over them...it made a really cool look.

These crayons have fun names and you never know what they will look like until you try them.

They really are so much fun...where were these when I was a kid?

They are so interesting that I made a palette card for reference.
Try them out....I found them in the clearance section of Walmart's school supplies.

Enjoy this October!!!
(This freebie design is on my left side bar of this page)