Friday, October 1, 2021

Happy October!

Happy October!!!
It is one of my favorite times of the year....for sure! 
I love the Halloween decorating, the temps get cooler, fall leaves, spooky movies on TV, and that old feeling of simple pleasures.
I made this month's phone/tablet calendar from one of my watercolor paintings!

The desktop version is here! The orange section is perfect for you computer icons.
***********************

My latest design is ready!

This “bad to the bone” skeleton is really a sweetie!

Add some scraps of fabric to the sides of the design for a whimsical mini quilt with rick rack all the way around. It's super fun, quick and easy to do! Add color using colored pencils.
The design features a friendly skeleton with his pumpkins, black cat, bat and a small "Eek!" banner.
Embroidery design measures:6 7/8” wide x 9 1/8” . Mini quilt measures: 14 1/4” wide x 16 1/2”.
For a printed and mailed pattern go to my website!
*************************
This month's mug rug was fun to make.
I could barely decide which fabrics to use!  I have way too much halloween fabric.
I finally chose the cute kitty fabric...one I haven't tried yet!
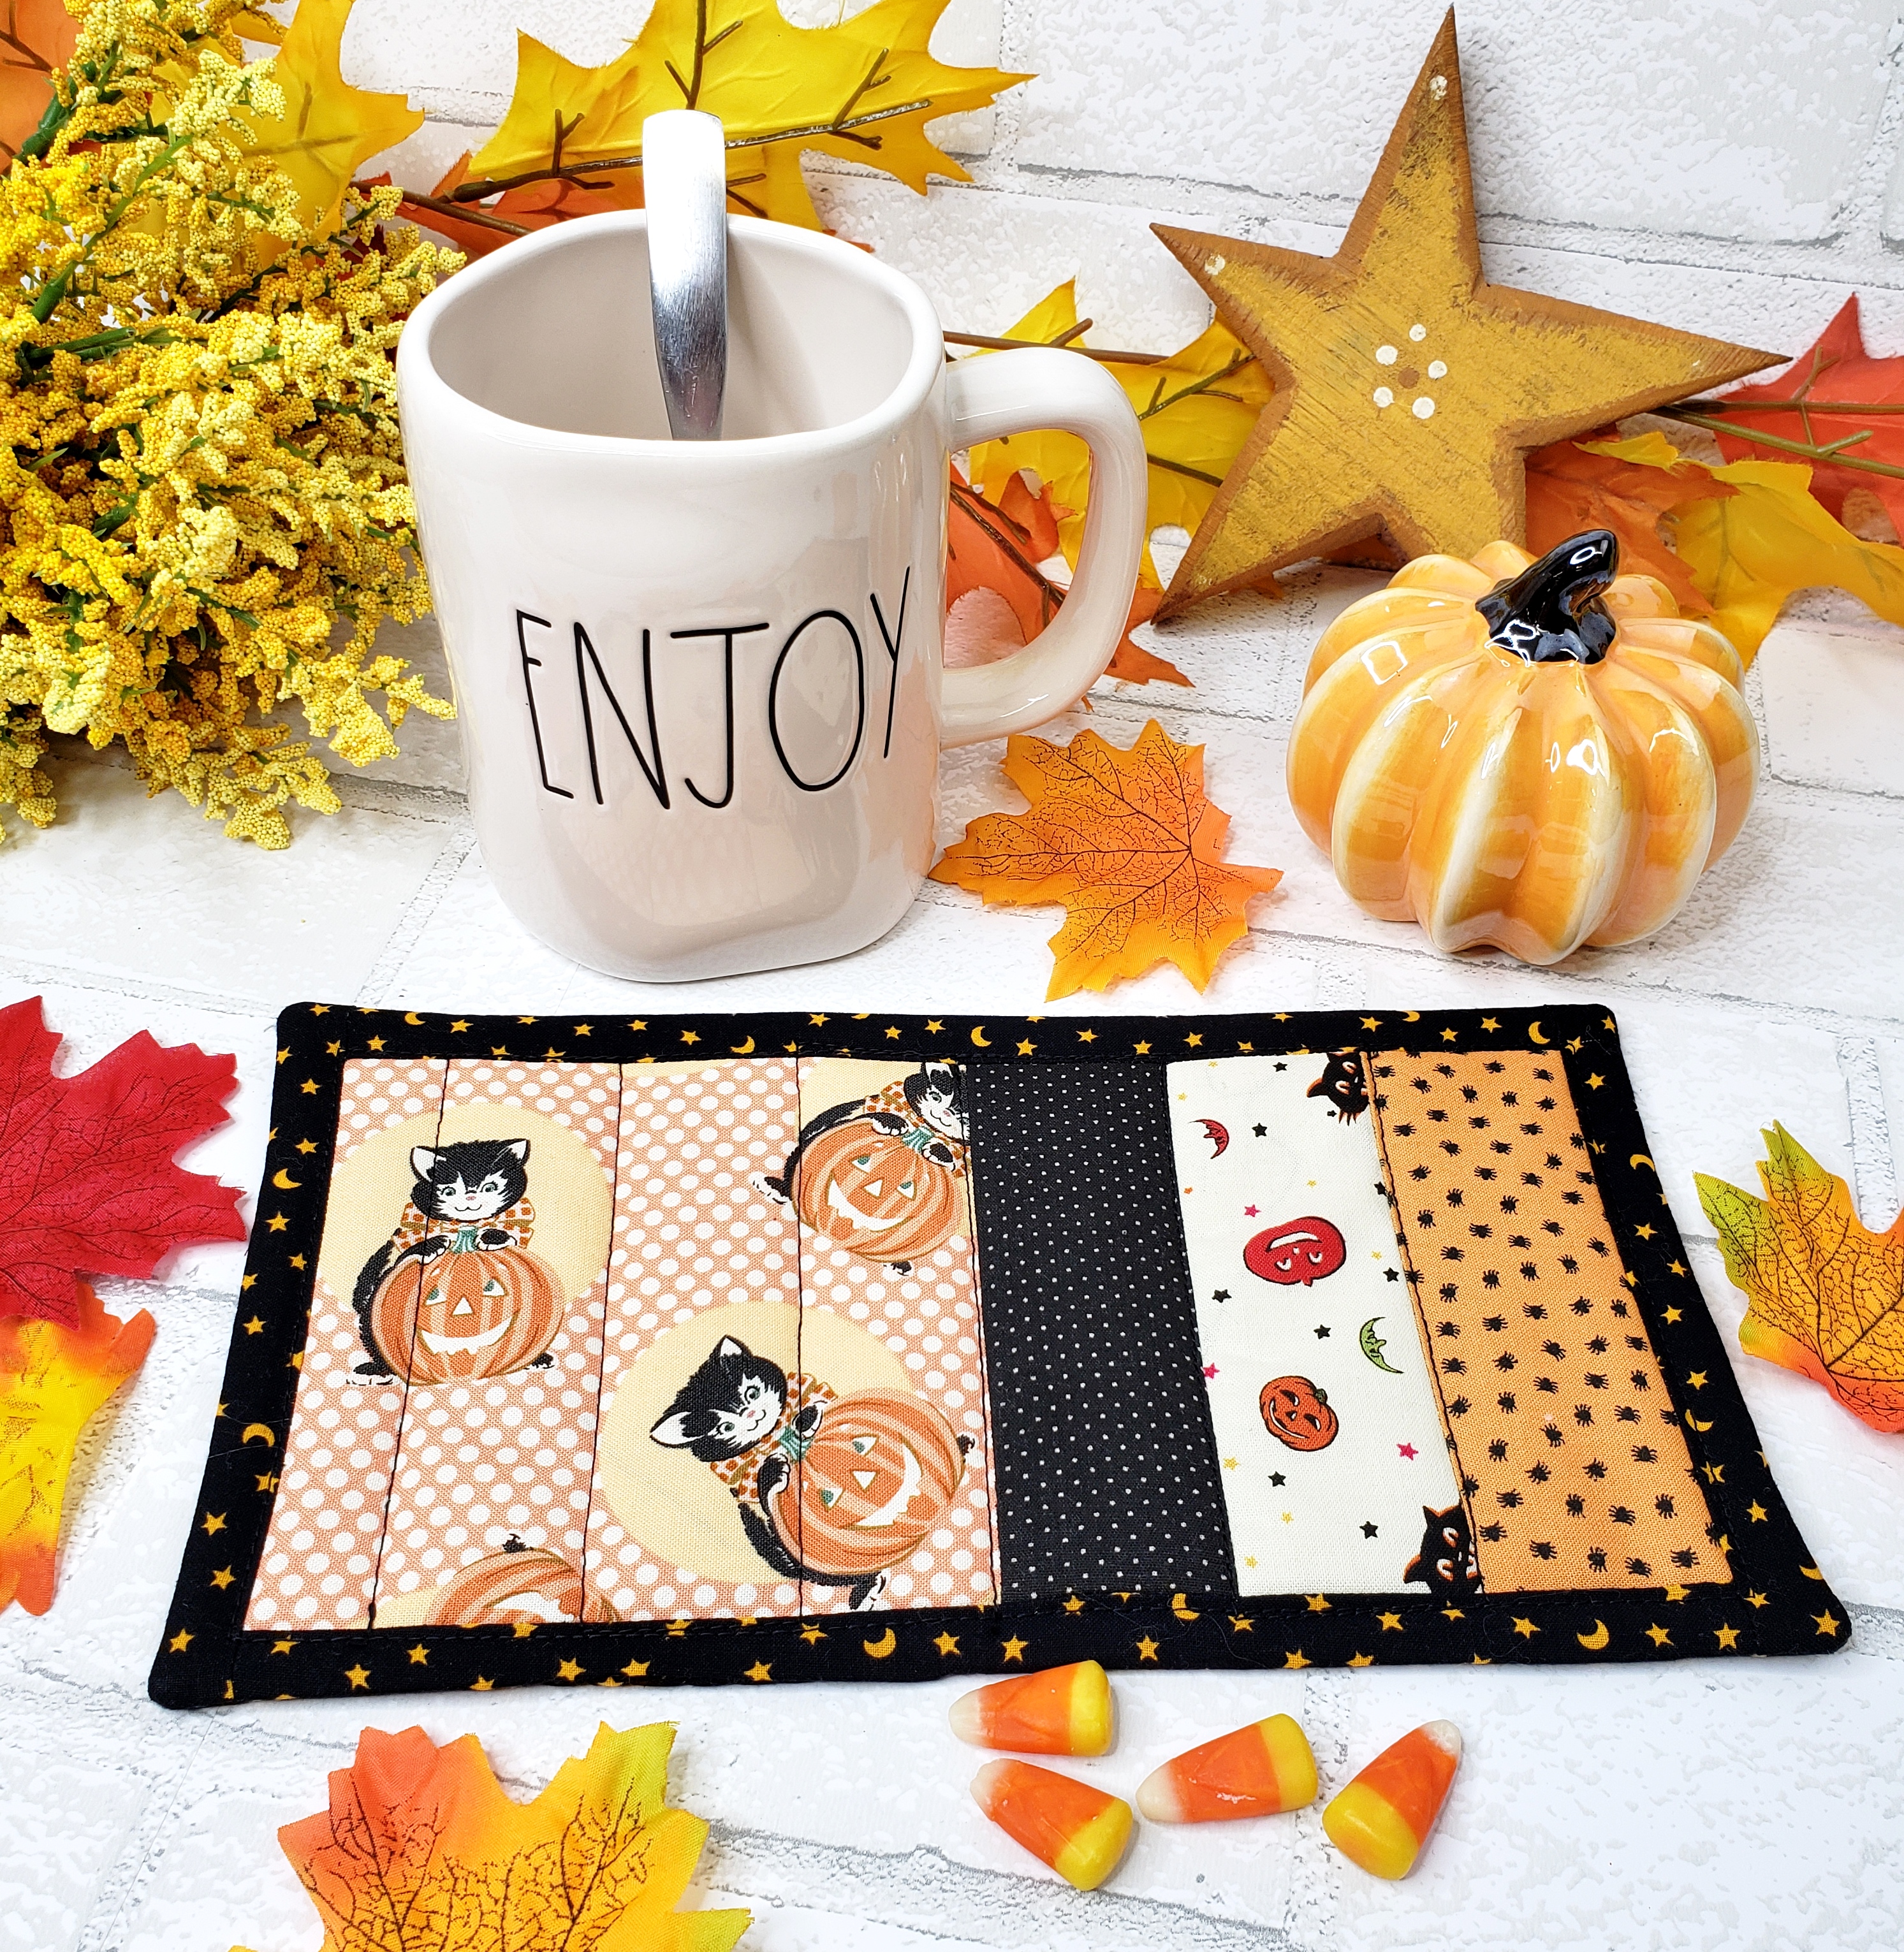
I grabbed a few coordinating strips....and added them.  I really like making these for every month of the year.

Here is a diagram to give you an idea of how it goes together. 

Here is some general instructions:
Use a 1/4" seam allowance. Use the chart above.
  Sew the featured fabric (apples) next to 3 strips of coordinating fabric.
Press well. Sew 1" strips all the way around. It is a good idea for the fabric border strips to be the same as the backing fabric.  It makes the strips resemble quilt binding.  Cut excess fabric and press. Layer batting and backing fabric (slightly larger than top) then lay top over backing (right sides together).  Pin in place. Sew 1/4"  around mug rug leaving a 3" opening. Turn inside out. Sew opening closed. Quilt lines through the featured fabric...and also quilt down strips and around the borders. 
*******************************
I needed a mat for a sparse shelf and made up this one... so sweet!
It was perfect and now I might make several.

I just used the same instructions on my pincushions to make it.....but didn't fill it.
It worked out great.
******************************
Recently our local doll club made it in the Spokesman review Newspaper!
It is an article about our cloth doll club, only a few of us could make it to the interview.  We met at Joann's house....she has tons of dolls she made and lots of treasures.  We brought dolls to show and told alittle bit about ourselves.

I showed a few of my muslin dolls and my book!

We all make different kinds and I love seeing their creations. 
Plus it is so nice to meet with friends who have the same hobbies.
I encourage you to find a group of like minded women in your area!
It is amazing how much we need each other!

****************************************************************
Around the house....
I started this last year....then Halloween past so I put it away and worked on a valentine one.  
But I got working on this while watching TV and put it together plus put fringe on it.
I love it!

I got myself a big skeleton... and named him Norman for Norman Bates!
But he wanted a mustache...courtesy of walmart for 98 cents.
He is wearing one of my party hats!
This guy is where's Waldo...so funny....he is at a vendor mall...so much fun!

I bought this huge painting ....I had my eye on it for a while....then it got reduced!
It is Carmen from the opera....from Barbara Weber.

She is decked out for Halloween....no tape on it.
It cracks me up!  I plan on making her ready for every holiday.
I got this really cool vintage singer sewing machine at a garage sale recently...5 bucks!  I was in heaven because it looks killer in my studio plus makes for great picture taking.  
It is smooth and in great shape.
*********************
Art time
I have been loving making Halloween art...but my favorite new supply is Crayola confetti crayons!
I made the stars and other shapes in the background and then watercolored over them...it made a really cool look.
These crayons have fun names and you never know what they will look like until you try them.


They really are so much fun...where were these when I was a kid?

They are so interesting that I made a palette card for reference. 
Try them out....I found them in the clearance section of Walmart's school supplies.
Enjoy this October!!!
(This freebie design is on my left side bar of this page)
 

Wednesday, September 1, 2021

September....a lovely time of year!

Ahhh....finally September is here....with cooler temperatures.
I love this time of year....when you had a long hot summer and you are ready for change!
The kids are back in school, the bugs are dying off, the weather is still nice for walks and bike rides!
I loved getting school supplies as a kid...and I still do.  I got myself a trapper keeper....totally a throwback from the 80's. I am not sure what I am going to use it for but I wanted it and thought I may not see it again if I didn't get it.

This month's calendar is a sweet kitty cat I drew and watercolored.


This is the desktop calendar....you can download that here.
------------------------------------------
I made a September mug rug.....just like all the others I have done this year....
changing the fabric choices really make a difference. 
This time I used some fall colors....with an apple theme.

I found some "apple with letters" fabric in my stash as my main focus fabric and then added some fall strips to it. It remind me of school starting so I went with that.
Pick fabrics that you like and create your own! 
Here is a diagram to give you an idea of how it goes together. 

Here is some general instructions:
Use a 1/4" seam allowance. Use the chart above.
  Sew the featured fabric (apples) next to 3 strips of coordinating fabric.
Press well. Sew 1" strips all the way around. It is a good idea for the fabric border strips to be the same as the backing fabric.  It makes the strips resemble quilt binding.  Cut excess fabric and press. Layer batting and backing fabric (slightly larger than top) then lay top over backing (right sides together).  Pin in place. Sew 1/4"  around mug rug leaving a 3" opening. Turn inside out. Sew opening closed. Quilt lines of a star through the featured fabric...and also quilt down strips and around the borders. 
--------------------------------------------------------------
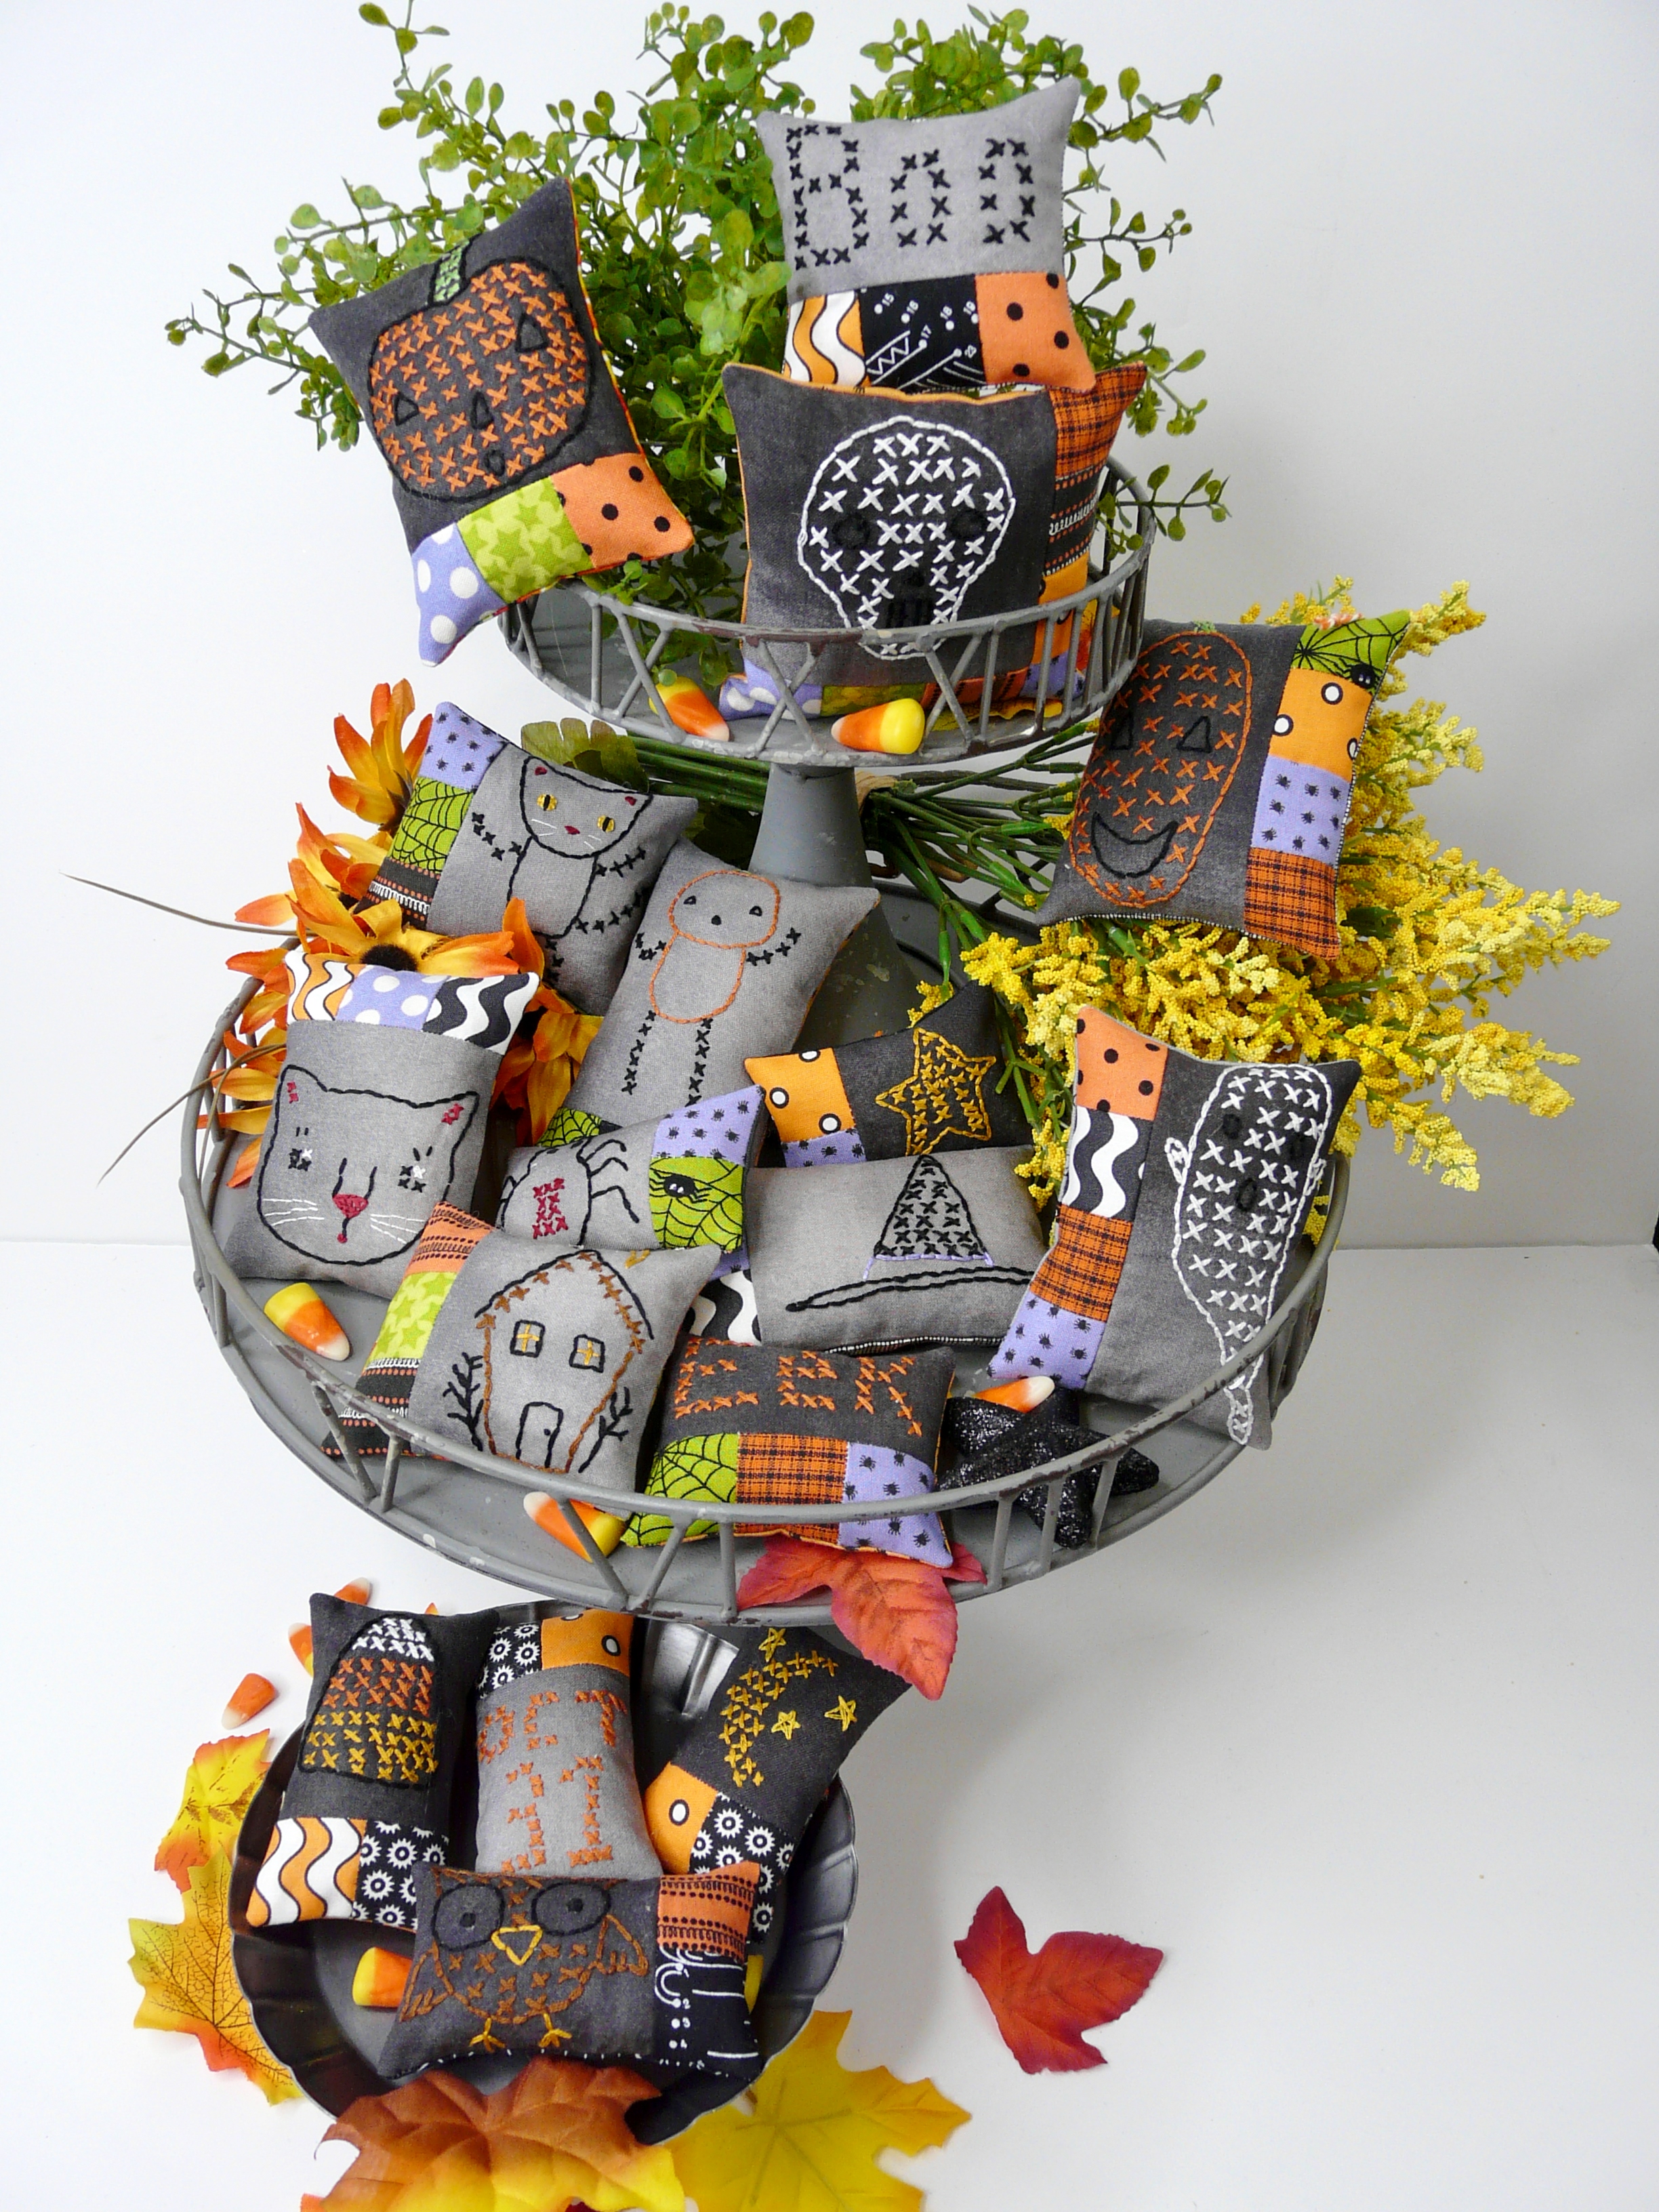
Get ready to decorate for Halloween! Make these super quick faux cross stitch ornaments with scraps of fun spooky fabric. Learn how to embroider on dark fabric the easy way! They make great bowl fillers and little shelf sitters. 17 designs are included.... pumpkins, cats, ghost, skull, moon, owl, witch hat, words and sayings too!
Ornaments & bowl fillers measure: From 2in x 3in to 3.5in x 4in.


Halloween faux cross stitch ornaments & bowl fillers pattern, #422

They make a great gift and look amazing sitting on a little shelf or hanging on a tree or knob. Perfect for little pinkeeps and gift toppers too. Each ornament has a wool or felt star on the back. Use bakers twine for a sweet hanger.
Here is a little close up of some of the ornaments.
The patchwork is easy.....simple squares.
*You could also make a darling little quilt with the designs.
They look so good on a small tree and a big tree.  I have a large skinny white tree that I love to decorate for every holiday.

--------------------------------------------------------------
Ready to make some Halloween home decor, ornaments and signs....super cute and super inexpensively?!
This listing in my etsy shop is for a brand new set of Halloween Collage sheets. It is a set of 4 PDF collage sheets...made from my own art- watercolors... that I created. You can print them off and use them over and over. Print these on cardstock or matte presentation paper for best results. Try sticker paper too.
These are made from those cute straws that are in party supplies at the craft stores.

I have made a fun free video on how to use these!!!

Supplies you may need are: scraps of cardboard (from a box), glue stick, scissors, glue that dries clear, ribbons, and glitter.

There is a sheet with super cute characters: Dracula, frankenstein, witch, pumpkins, mummy, spider, and lots of extras....a soft watercolor pumpkin patch background sheet, a midnight sky background and a section of fun sayings and words. Plus a jack o lantern patch with more sayings.

Keep your kids busy creating really cute halloween decorations! Create stickers for your kids, journals, laptop cover, binder and more....just print on sticker paper (staples)


Franky has lots of bits and pieces of trims on the back.
-------------------------------
It's time to reveal some more halloween dolls..... I just made.
I decided to make the "It" clown, a wicked witch, Jack Skellington, Pumpkin girl, and another wolfy!
These will be available on September 2nd, 6 pm (PST) in my etsy shop.
You can buy a doll from me...or 
make your own creation using my new book which is in my etsy shop and website.  I can sign it for you!
My book has step by step instructions on everything....including the easy painting techniques I use. 

I add lots of details to these...embellishing is so much fun!


 My book is published by C&T Publishing!  It is my 2nd book!

It is on Amazon, C&T Publishing, plus all book stores and craft stores.


Here is a little youtube video about it!
I will have ornaments available too in my etsy Shop....Sept 2nd, 6 pm (PST).
--------------------------------------
My daughter Selina has a new Halloween item: The creature of the black lagoon.
This Creature Wreath ... is a perfect way to start the season for Halloween!
She designed and cut this shape...a Creature ...... That you can watercolor yourself and make an adorable Wreath with dollar store crafts.  The wreath form and garland came from the dollar tree....balls on wreath were from our christmas ornaments.
She will have a video on it in a few days!
--------------------------------
One wonderful thing that happened this past month...was the Farm Chicks show!
It felt like old times....shopping, seeing people ...having a great time!

I got some Halloween goodies.
If you want to see more of my goodies, artwork and fun random stuff....
---------------------------
Lastly....
I want to share a recent picture of me....I am not into picture taking.  It is something I have a avoided for years!

It is Almost a year after my stroke, cysts in stomach, diabetes diagnosis....
now I am reaping in the benefits of alot of weight loss....plus healthy living!

It was a slap in the face that woke me up and I am really glad.
Life is more precious now and I appreciate it! 

I dearly miss all the sweets, but I want my health more than candy.
Here is to change and courage!

Sunday, August 1, 2021

It's hot and it's August!

Welcome to the hottest time of the year....
August!
I'm hot already!
Think cool thoughts going....and have a slice of watermelon.
I painted this artwork a while back but I thought it would make a sweet calendar!

This is perfect for you desktop.
------------------------------------------
Every month I have been making a new mugrug....each month I try to fit the mood of the month.
This time I wanted flowers...like a summer garden.
If you make one... try flowers, camping, baseball, water/beach fabrics....any theme you want.

I love changing the mugrugs, plus I wash the last month's one..press it and store it for next year.
  
Use the diagram above for measurements. For more details check out my previous blog posts...where I explain it.
I just did some light quilting on this one.
They are big enough to have a warm drink and water too.
----------------------------------

I have a Brand new Halloween pattern!
Let's celebrate Halloween!
 Halloween Pinnie- Embroidery & quilted pincushion pattern #421

Make these super easy and quick pincushions with scraps of fun fabric. Learn how to embroider a witchy mouse that's trick or treating....ready to celebrate Halloween. Incorporate your small embroidery into a fun pinnie which makes a great gift. Sew up any of these cute sizes with tips to make them & machine quilt them in a flash! Each have a cute ribbon loop to attach your small scissors to it and decorative pumpkin & pom pom pins.
There are 4 different designs: a trick or treating mouse witch embroidery, a skinny / long rectangle, Medium rectangle and large rectangle.

Warning: These are addicting to make! Make them in any color of fabrics you want as well!

*******Plus....this pattern comes with a link to an exclusive video tutorial I made....just for you******
I used some cool Sally fabric as a feature design on this one.

There are soooo many fun halloween fabrics out there!
It's hard to choose between them!
Pincushion with Embroidery measures: 4 5/8" wide x 4 3/8"
Additional Pinnies measures: from skinny/long
1 7/8"x 5 1/4" to a bigger rectangle 5 5/8" x 3 1/2"
----------------------
Say hello to Franky!
I love his greeness!
And here is his bride....she is not really happy about the engagement but he is the only monster in town!


These dolls are in my etsy shop, plus I have a creature of the black lagoon, Dracula and pumpkin man on my website.

My book is out this month!!!

Make your own dolls....I have step by step instructions on everything....including the easy painting techniques I use. My book is published by C&T Publishing!  It is my 2nd book!
It is on Amazon, C&T Publishing,   plus all book stores and craft stores.

Dracula is a featured doll in my book!

These guys are in the gallery... with tips and tricks!

I made new Halloween ornaments....using  a similar technique like the dolls.
They sold immediately.


These are so fun to make!
All sold.
----------- 
My daughter Selina has some super cool new products out!

She designed and made this sweet candy corn needle minder.
It's painted with a super set of strong silver magnets.  Your needle will never be lost.


She also made the into ear rings!  Available very soon!

I love the playfulness of them.

I love candy corn... I wish they made sugar free candies.

-------------------------------------
I now have some of my artwork as 5 x 7 prints....like a big postcard.
In my etsy shop!


A little frame makes her complete.


I put this one on my sketch book.
The stickers stick very well too.
-----------------
Later this month ... I will have another fun Halloween embroidery pattern...
here is a sneak peak

Have a wonderful August...stitch up some fun!